Photo: FW Archive
It is always tempting to go for the cheapest available when starting off with limited funds. Rather do what most commercial farmers do: aim to make the most profit, and if this means buying expensive seed, do so.
In short, use the highest-yielding variety suitable for your region.
If money is limited, plant a smaller area. In other words, plant what you can afford to and use the profits from that to expand the following year.
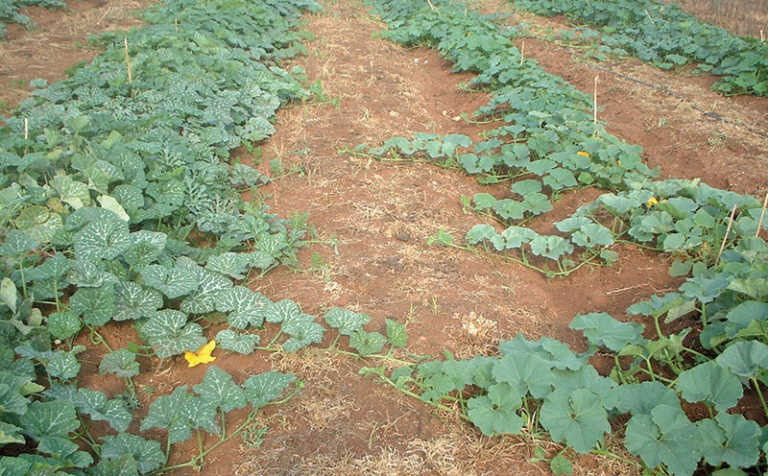
Next comes spacing. The golden rule is: cover the entire land with the crop so that you make the most use of sunlight, and do this with the least amount of seed.
If the vines do not fully cover the area, you will lose production potential. Plant too close and you will reduce yield and waste expensive seed.
Semi-bushes or runners
Today’s pumpkin varieties are either high-yielding runners or semi-bush types. The latter starts to bear very close to the crown and makes relatively short runners.
Your row spacing will depend on the type. The compact growers or semi-bush types can be planted with an inter-row spacing of 3m, while runners require between 4m and 5m between the rows. The in-row spacing is usually 40cm to 50cm. But it’s best to obtain the exact spacing from the seed supplier, as each variety can be slightly different.
Anyone who has had a pumpkin seed germinate near a compost pile will know how far it can spread and how many pumpkins it can produce when sufficient room is available.
Planting for optimal germination
Years ago, three seeds were planted in one place to make provision for losses due to cutworm and other pests. Seed was cheap and it was no loss to remove the extra plants as soon as the they became established.
Today, this practice is unaffordable, so you need to ensure that you provide the conditions that will allow every seed to grow. If you do so, you should need about 500g of seed/ha.
To help get all the seed growing, pre-germinate by soaking it in warm water and keeping it in a moist bag (after draining the water), in a warm place.As soon as the roots start protruding, the seed is ready to plant into moist soil.
Germination will then be quick and assured. The seed can be planted about 2cm to 3cm deep. If the ground is sufficiently moist when planting, you may not have to irrigate after planting. The loose soil above the seed will act as a mulch, conserving water, and the roots will penetrate into the soil within a day.
Next, ensure that the emerging plants are not harmed by pests such as cutworms and millipedes.
This you can do by spraying a pyrethroid or chlorpyriphos over the rows with a knapsack sprayer before the plants start to emerge.

