Photo: Paul Donovan
A crop will flourish in a well-fertilised soil containing all the nutrients it requires for good growth.
Although working manure or compost into the soil may make you think you are providing a good base for seed germination, this may not necessarily be the case.
One of the reasons is that one mineral could be more or less abundant than another, and this could upset the balance of what minerals the plant extracts. This shortage or excess can lead to unproductive plant growth.
Of course, not all plants/species require the same nutrients. Some need higher concentrations of one mineral over another.
The acidity and alkalinity of the soil also plays a role in determining whether the plant grows or not, or what type of crop you plant. If you plant a crop in the wrong type of soil conditions, it will not survive for very long.
What it tests for
The more we understand the composition of soil (which can vary widely even in a relatively small area, depending on drainage and other environmental factors), the easier it is to provide appropriate growing conditions for a crop.
If we can give a plant all the nutrients it requires to grow, at the levels it requires, it will flourish and be productive.
How do we determine the composition of the soil even in its basic form?
At the very least, we should have some idea of whether the soil is acidic or alkaline (commonly referred to as its pH), and its nitrogen, phosphorous, or potassium (N, P, K) status.
These are the basic requirements for good plant growth, and the only way to determine their levels in the soil, is to test for them.
The sample specifications
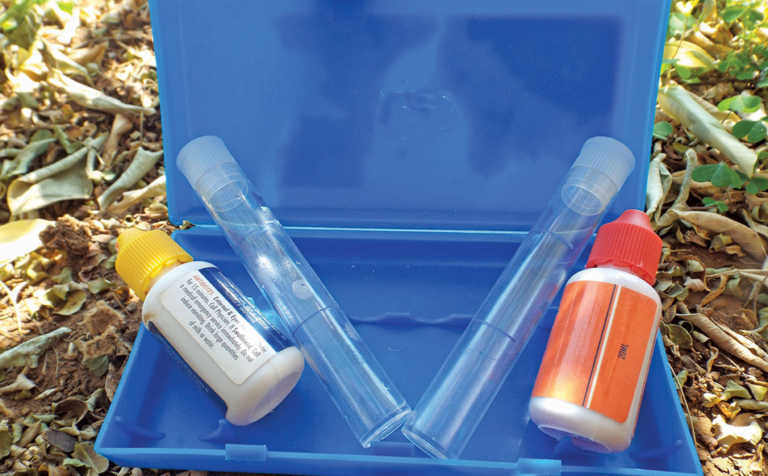
The instructions with the test kit will tell you from where you should take your soil samples. In most cases, it is at a specific depth beneath the surface, as this is where the roots are at work.
READ Using no-till practices for long-term sustainability
Taking it from the surface will give a false reading, as watering the plant or rain will have washed the minerals down towards the roots, leaving the surface layer ‘sterile’.
About 5cm of surface soil should be scraped away, and the sample taken 15cm below that. The test is conducted in one of two ways: the sample is left to dry, or it is mixed with water and left to settle. Neither procedure should be rushed.
How many tests are required?
Depending on how much the test kit costs, you should have enough chemical to carry out between 10 and 40 tests. When using one of these kits, it is crucial to carry out a random sampling over the entire land to build up an overall picture of what the soil is like.
In this way, you can determine what type of fertiliser/manure is best suited to adjust the mineral content to a specific crop’s needs.
Always keep detailed notes of the results. In this way, you can measure what’s happening with the soil year by year.
Also, never rely on the results of a single test as being an accurate representation of the soil’s make-up.
Test the soil several times over a period of several months to build up an ‘average’ picture because anomalies can occur.
Paul Donovan is a zoologist based in Botswana.


