Photo: Bill Kerr
When applying Foundations for Farming’s techniques for the first time, it’s best to start with a small plot and work carefully to achieve the best results. Whether you’re working on a small or large area, however, the same principles apply.
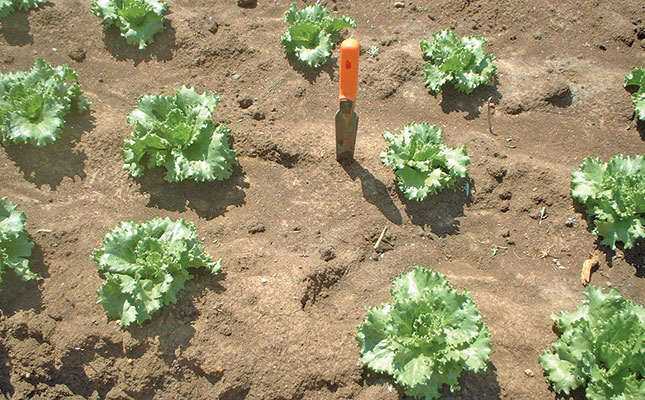
A key principle is minimum or zero tillage. Instead of ploughing, dig planting holes for seeds and fertiliser. These should be dug in the same place each year to build up nutrients.
Mark out and dig the holes accurately. The rows and spacing will depend on the soil, climate and water, as well as on the crop. In Southern Africa, the recommended between-row spacing is 75cm. The in-row spacing depends on the crop, region, and plant population density target.
The land
After clearing the land as discussed in a previous issue, mark it out as follows:
- Establish your base line (the side of your land). If it’s parallel to the access road or the nearest building, it will look neater. The crop rows of your land should run across the slope and follow its contours to limit water loss and soil erosion.
- Drive in permanent pegs at each end of the base line.
- Drive in two permanent pegs at the bottom of the slope perpendicular (90°) to the base line pegs.
Planting holes
- You will need two lengths of string. Tie one piece from the peg at the top of the slope to the one at the bottom. This string should be marked off in 75cm intervals – you can tie knots or use crimped bottle tops. Drive marking pegs into the ground at 75cm intervals. Repeat on the other side of the slope.
- Tie string between the permanent pegs of the base line at the top of the slope. This string should be marked at 60cm-intervals.
- Dig a planting hole at each 60cm mark. It should be about 6cm deep and 15cm square (about the width of a hoe).
- Shift the string downwards to the next row 75cm away, tie it to the marking pegs, and repeat the process, going down the slope (see Figure 2).
- As you go down the slope, check to make sure that the rows going down the slope stay in line.
- Remember to compensate for the contours of the slope. You may well have to loosen the string and curve the rows slightly. Not all lands are level as shown in the diagram.
Useful advice
- Place the soil dug out on the downslope side of the holes. This will prevent it from washing back into the hole after rain, and will also help to capture rainwater by providing a small barrier.
- As mentioned, few lands are perfectly level, and you may not be able to get your rows absolutely straight. Nonetheless, the more evenly spaced the holes are, the better your chances of a good yield. Remember, however, always to follow the contours of the slope.
- Grow each season’s crops in the same holes. This will maximise the build-up of fertiliser in the soil. It will also limit soil compaction from feet, animal hooves and tractor wheels to the same inter-row spaces.
For more about Foundations for Farming, visit www.foundationsforfarming.org.


