

With the latter, however, every mechanical operation, from land preparation to ridging to harvest, requires more effort and better timing. This is in addition to cleaning the clay that sticks to the tubers after harvesting. The clay should be the self-mulching variety, which usually has a high percentage of montmorillonite, a form of clay that expands and contracts significantly. This loosens to become more manageable when worked at the correct moisture content.
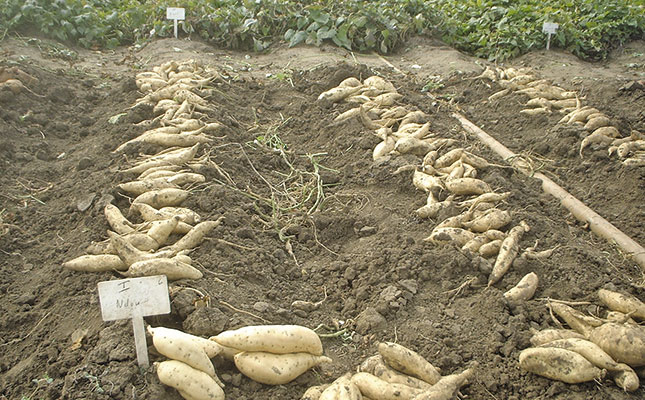
At the end of the day, the most convenient soil type for sweet potatoes is sandy loam. Sweet potatoes usually yield between 40t/ ha and 60t/ ha of roots in good growing conditions and are heavy feeders. There should therefore be sufficient quantities of each element to sustain this crop. A good soil analysis will show you what’s required.
You can include manure if available and even use a chemical fertiliser mixture together with manure. This will enhance the crop’s health and slow down nitrogen leaching. Ridging prior to planting will move most of the fertilised soil to the ridge, where the bulk of the roots are.
Eelworm
Sweet potato is susceptible to attack by eelworm. As the crop grows mainly in the warm months, the eelworm population has ample opportunity to build up numbers if these are already high at planting time. If the previous crop has had eelworm, fumigate before planting, especially with lighter soils.
Maximum leaf growth
When the crop starts to send out runners, apply a side-dressing of LAN to ensure that the plants grow at their maximum rate and cover the land with leaves as soon as possible. This will ensure maximum use of sunlight to produce the fleshy roots.
Rapid leaf growth also helps to prevent weed problems. As the runners begin to elongate, but before they become too long, use the ridger once more to add more soil onto the ridge.
This eliminates any weeds before they become a problem and places more soil above the expanding roots, reducing the risk of of insect attack. The timing of this operation is very important; you want to catch the weeds at a vulnerable stage but avoid damaging the runners.
Checking the nitrogen level
Having provided enough basic fertilisation before planting, you should now check the levels of nitrogen in the land. This will vary from land to land and from season to season.
Nitrogen is not reflected in the soil analysis because it is a mobile and volatile element. The level can be reduced by too much irrigation, or drop to almost nothing after one spell of heavy rain.
To determine what is required, you will have to ‘read’ the leaves. Once the land is fully covered with leaves, maintain a healthy leaf colour without it becoming excessively lush and dark green.
Overdoing nitrogen at this stage will encourage excessive runner development. This is unnecessary and will reduce yield and quality. (Once the area is covered, extra growth will not increase the use of sunlight.)
If the colour of leaves is too light, yield will be slightly lower. A healthy medium green is ideal. You may have to top up with light applications of nitrogen from time to time, especially after heavy rain.
Each soil and crop will differ so there is no recipe other than to monitor the leaf colour. Soil with a healthy organic content will require less applied nitrogen.


