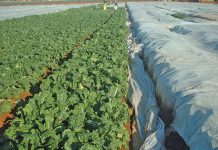
This may involve spraying, loading or even going over the beds with a bedmaker to pull in soil that has eroded into the pathways between the beds after a rainstorm.
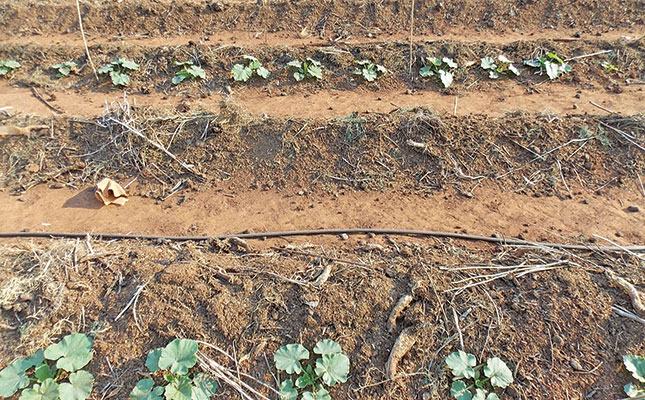
The beds should therefore be between 1,6m and 1,8m apart – wide enough to accommodate a tractor and trailer.
A bedmaker usually becomes unnecessary after a few years when the beds are well settled. In fact, once the soil has settled properly, you can even walk on the beds without damaging the structure.
The soil particles become aligned with one another and aggregates form according to the composition and condition of the soil.
At this stage, the soil will seem quite firm and those without knowledge or experience of soil condition might regard this as a problem.
Farmers often think that loose, fluffy soil is best for plant and root growth and water penetration, but this is far from true.
Soil that has been worked loose will become badly compacted when walked on and will take a long time to recover.
No-till soil is more stable, has sufficient aeration and allows substantially faster penetration of water than loose, tilled soil. Researchers have proved this over and over, and you can see it for yourself by comparing cultivated soil with natural veld after a heavy thunderstorm.
Planting procedure
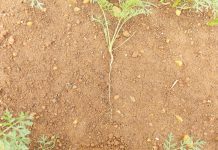
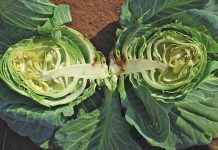
The usual no-till practice is to plant two rows on each bed when growing brassicas (the cabbage family), lettuce, peppers and chillies, beans, peas, onions, leeks, sweetcorn and beet.
This approach is less suitable for carrots, although it can work if required. In this case, use carrots for bunching, making sure that the tops are sufficiently well attached so that you can pull them out of the ground after an irrigation.
I use only two rows, even for beet and carrots, as I use the middle of the bed for the previous crop residue, manure and mulch.
Crop residue
For cucurbits (the pumpkin family), spacing will depend on what is planted. If you’re growing baby marrows, plant two rows on a bed; if gems, plant one row. Here, I use only one side of the bed. With pumpkins, use the same procedure with compact varieties, while planting every alternate bed with running varieties.
Crop residue is left on the beds, where it acts as a mulch and breaks down gradually. Sweetcorn residue may take a few years to decompose, but this does not matter.
Chillies and peppers, which are woody, also take long to decompose but do not affect the following crop. It is only when crop residue is incorporated into the soil that the new crop may suffer.
Saving money
You can use this system on a larger scale to carry out minimum-till. Employ a rotavator set shallow on the beds to chop up and incorporate the residue.
Follow it with a bedmaker and plant when the organic matter has sufficiently decomposed. The timing of this will depend on the season and nature of the residue.
No-till is ideal for organic growers. If you do not allow the weeds to set seed, the weed problem will become less and less.
Another advantage of no-till is that you can replant as soon as you have harvested the previous crop, whether it has rained or not.
No-till also saves money by eliminating mechanical land preparation. This can make a significant difference to the profitability of small-scale farmers.


