
Photo: Bill Kerr
Tunnel production offers many advantages, but the cost of a ready-made tunnel can be off-putting. Fortunately, you can make your own tunnel for a fraction of the cost.
There are several reasons for keeping a crop under plastic. First, it keeps rain off the plants, preventing standing water on the leaves, which can lead to diseases.
Second, it ensures a higher night temperature, which speeds up growth. Third, it offers slight frost protection (although it won’t keep your plants 100% safe from frost).
Tunnels have one major drawback: they become hot. However, this can be countered by increasing the height of the structure and leaving sufficient openings on the sides to permit airflow.
Making and securing the hoops
These instructions are based on my own tunnels. Use the picture as a guide.
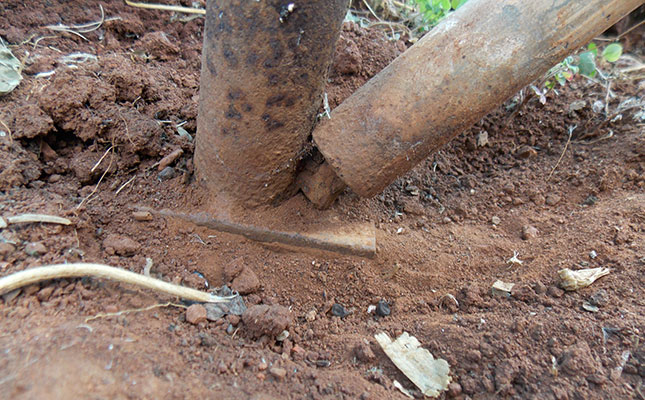
- Obtain B-grade steel piping with a wall thickness of 1,6mm and a pipe diameter of 22mm. This usually comes in 6m lengths. Weld a further 2m to each to make a length of 8m. Form each pipe into a hoop by placing it in the fork of a tree and bending it bit by bit into the right shape.
- Take a 6cm-wide flat bar and cut it into 10cm lengths. In the middle of each, drill a hole and slip a 10mm round bar through, with 6cm protruding from the top and 20cm from the bottom (to go into the ground). Weld to secure the bar in position.
- Push the rods into the soil 2m apart along the rows, and 4m apart across the width of the tunnel-to-be. The hoops can then simply be slipped onto these pegs.
- On four of these pegs (one for each corner of the tunnel), weld an additional 6cm round bar at a 45° angle. This is to accommodate a brace at each corner (see picture below).
- At the same angle, but pointing downwards, weld a similar piece of round bar three-quarters up on the end hoop for the other end of the brace. Attach a section of pipe as a brace.
- Run three wires the length of the tunnel: one in the middle and one near the top on each side. Secure each hoop to the wire by securely twisting the wire where each crosses.
- Drape 200-micron plastic sheeting over the hoops (white material in the photo below), leaving a 1m gap between the edge of the plastic and the soil.
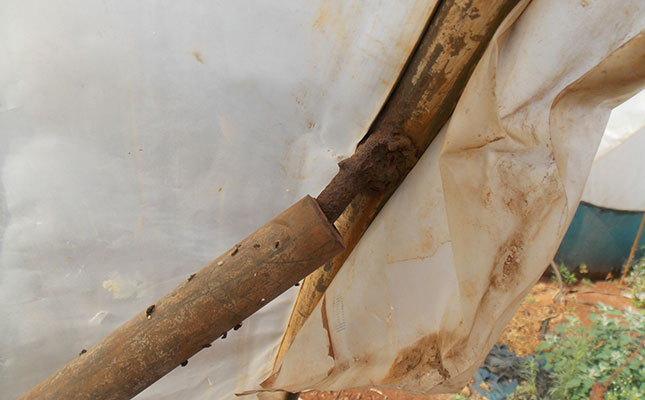
- Now staple strips of hail netting (the blue material) about 1,5m wide to the plastic at alternate hoops. Securely stamp the hail netting down into a trench the width of the netting.
- Cut a section of 20mm Class 6 plastic tubing down its length and force it in place over the plastic on the end hoop.
- Now work on the other side of the tunnel, pulling along and down while the end is secured into the trench with soil; this will ensure that the sheeting is taut.
- Make the hail net more secure by stitching polypropylene twine to strengthen where the staples are.
- At each end, hammer a section of fence standard into the soil at an angle and attach wire to it and the hoop for extra strength.
Bill Kerr is a vegetable specialist and breeder.


