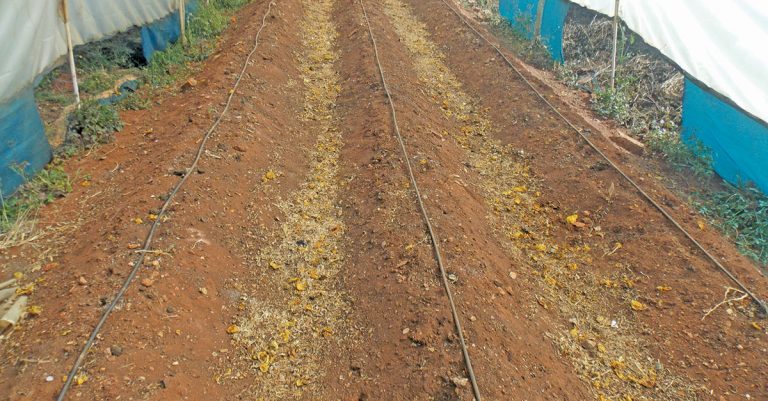
Photo: Bill Kerr
Many types of irrigation are available; it will pay you to explore all the options carefully before making a commitment.
It is well known, for example, that drip irrigation uses less water than other systems. Some farmers choose it based on this fact alone, and end up paying the price for not doing their homework.
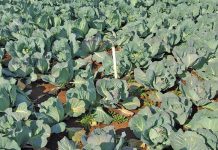
A farmer told me recently that he planned to use this system on his broccoli and cauliflower.
I pointed out to him that, although he would indeed save water, he needed to keep his brassicas cool during heatwaves for these crops to perform, and drip irrigation did not perform this vital function.
Spray irrigation, by contrast, wets the leaves and soil surface, and evaporation of this water has a dramatic cooling effect. Some farmers apply a light irrigation daily during a heatwave to prevent stress.
I told the farmer there was another good reason to avoid drip irrigation: he would lose out at the market. A heatwave causes yields to drop, resulting in shortages and hence higher prices. If the farmer used drip irrigation, he would not only compromise his crop, but also lose out on higher prices!
Advantages
Of course, when used on the correct crop, drip irrigation has a number of key advantages:
- It can operate at a lower pressure;
- If you are growing a crop like pumpkin and watermelon with a wide spacing, you don’t waste water on areas where there is no root system to take it up;
- It is ideal for crops where wetting the leaves can cause disease. This makes it the favoured system for tomatoes and crops grown in tunnels;
- It is necessary when plastic mulch is used to cover the soil.
Dripper tubes come in various forms. A cheap option is a flat tape that has thin walls and a short lifespan. It is economical when used for a once-off function.
Round dripper lines, on the other hand, come in various wall thicknesses; the thicker the wall, the better it resists damage, and the longer the lifespan of the line. Lines like these can last for many years.
A word of caution: drip irrigation is susceptible to blockages and therefore requires clean water. And if you farm in an area supplied by water with a high mineral content, calcium can build up in the tubes. In this case, you will need to flush the tubes with an acid solution when necessary.
Flow rates
Drip irrigation systems have different flow rates and opening positions. Ideally, the drippers should be aligned with the plants in the row; this makes it easier to keep them moist after transplanting.
As the root system expands, it becomes less of an issue.
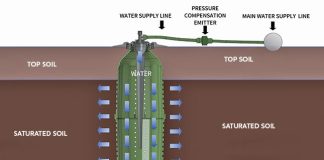
When starting off with a dripper, it’s not easy to determine the degree of wetting by merely glancing at the soil surface. An onion-shaped wet area develops in the soil profile under the dripper.
In sandy soils, this takes the shape of a long onion; in clay soils, it is shaped like a flat onion. This is due to capillary action; with clay soil, the soil particles are close together, allowing the water to move much further sideways through capillary action than in the case of sandy soil.
Take careful note of how the soil is wetted after irrigation. All too often, beginners want to see more evidence of wetting on the soil surface and can easily over-irrigate, causing leaching of nutrients. Rather under-irrigate the first time and adjust as needed.
Bill Kerr is a vegetable specialist and a breeder of a range of vegetables.

